Before you start
What you need
Owner or admin in flashtimer
Connecting an integration is up to your organization's owners and admins.
A login to the new MailerLite
One that can open Integrations in the MailerLite account whose automations should get your timers. Accounts still on MailerLite Classic can't connect: flashtimer works with the new MailerLite only.
Pro plan and up
Connecting MailerLite and adding timers to automation emails from flashtimer are on Pro and up. Pasting a timer's HTML into MailerLite yourself works on every plan.
Video
Watch the setup
The whole connection in 47 seconds, start to finish. The steps below go through the same screens one at a time.
Step by step
Connect MailerLite
You make an API token in MailerLite, paste it into flashtimer and you're connected. MailerLite connects with a token only: there's no sign-in to approve.
- In flashtimer
Step 1: Open Integrations and choose MailerLite
In flashtimer, go to Settings → Integrations and click Connect on the MailerLite card.
Keep this tab open while you make a token in MailerLite.
- In MailerLite
Step 2: Generate an API token in MailerLite
In MailerLite, open Integrations, click Use next to API, then Generate new token.
Name it, for example flashtimer, and leave All IPs allowed on: flashtimer's servers don't call from one fixed address, so an IP allowlist would turn them away. Tick that you've read the API token requirements, click Create token and copy the token. MailerLite shows it only once.
- In flashtimer
Step 3: Paste the token and click Connect MailerLite
Back in flashtimer's MailerLite dialog, paste the token into API token and click Connect MailerLite. flashtimer checks the token with MailerLite before it saves it.
If MailerLite refuses it, check that you copied the whole token; see Troubleshooting for the rest.
app.flashtimer.com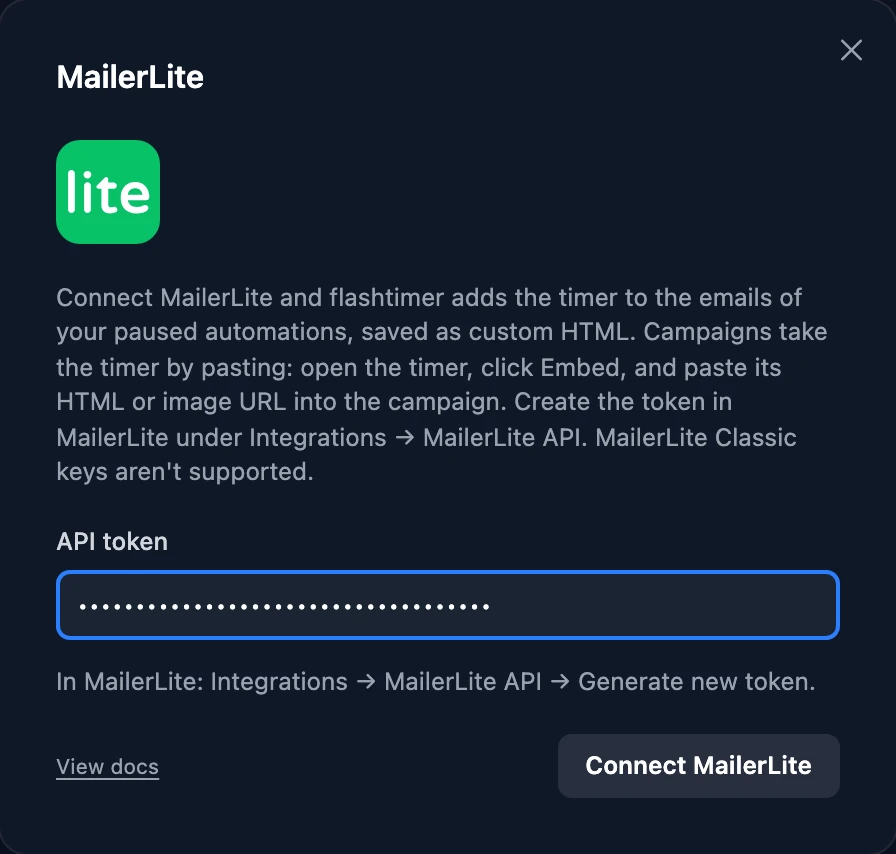
- In flashtimer
Step 4: Connected
The dialog shows Connected and the name of your MailerLite account. From now on, Send to ESP on a timer lists the emails of your paused automations.
flashtimer changes only the email you pick in Send to ESP, after you've seen where the timer goes, and reads it back to check MailerLite kept it.
app.flashtimer.com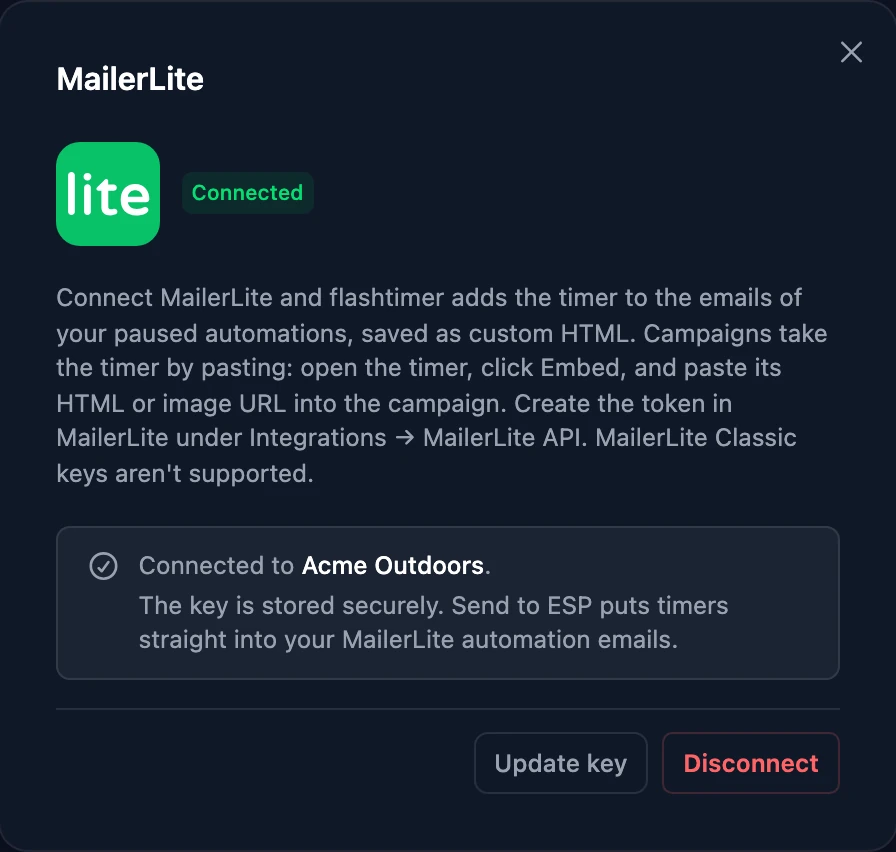
Once connected
What you can do next
Put a timer into an automation email
Pro and upMailerLite lets an email change only while its automation is paused, so pause the automation in MailerLite first. In flashtimer, open a timer, click Send to ESP and choose MailerLite: the list shows each paused automation's emails, as Automation → Email. Pick one, click where the timer goes in the preview and confirm. flashtimer saves the email as custom HTML and reads it back to check MailerLite kept the timer; an email made in MailerLite's drag-and-drop editor opens in its code editor afterwards, laid out as before. Turn the automation on again in MailerLite when you're done. Open goes to the automation in MailerLite.
Give each subscriber their own countdown
Basic and upUse an Evergreen timer: flashtimer adds
vid={$email}to its URL, MailerLite's own variable for the subscriber's address, so each subscriber's countdown starts at their own first open. MailerLite fills it in when it sends the email; its preview shows the tag as it is. flashtimer hashes the address before it stores it.Add a timer to a campaign
Every planMailerLite's API doesn't let a campaign's design be read, so flashtimer doesn't change campaigns. Click Embed on the timer, choose MailerLite as the email platform and copy the HTML or the image URL, then paste it into the campaign: an HTML block, the custom HTML editor, or an image that points at the timer URL. The MailerLite countdown timer guide covers it step by step.
Send a test
Every planPut yourself through the automation, or send a test from MailerLite, and open the email in Gmail and Outlook. Check that the timer shows the time left right now and, for an evergreen timer, that it starts at the full window.
Manage
Manage the connection
- Move or take out a timer
- Pause the automation first. Send the timer to the same email again and the new one replaces the old one. On the timer page, Embedded in lists the MailerLite emails the timer is in, and you can remove it from one there.
- Disconnect
- In Settings → Integrations → MailerLite, click Disconnect. Timers already in your emails keep counting down, since flashtimer serves the image. Delete the token in MailerLite under Integrations → MailerLite API too.
- Replace the token
- Generate a new token in MailerLite. In flashtimer's MailerLite dialog, click Update key and paste it, then delete the old one in MailerLite. If MailerLite stops accepting the token, the card says Reconnect needed until you do.
- Use another MailerLite account
- An organization connects one MailerLite account at a time. Disconnect, then connect again with a token from the other account.
Troubleshooting
If something doesn't work
Most problems show a message on flashtimer's Integrations page. Here's what each one means and what to do.
- “Only owners and admins can change this connection.”
- Connecting MailerLite is up to your organization's owners and admins. Ask one of them to connect it, or to make you an admin.
- “MailerLite didn't accept this API token.”
- Check that you copied the whole token. If you no longer have it, generate a new one under Integrations → MailerLite API in MailerLite. A key from MailerLite Classic doesn't work: flashtimer connects to the new MailerLite only.
- “MailerLite no longer lists this automation email as one that can take a timer”
- Its automation was turned on since you opened the list, or the email was deleted. MailerLite lets an email change only while its automation is paused: pause it in MailerLite, then try again.
- “Your MailerLite plan doesn't let an email's HTML be set from outside MailerLite”
- Setting an email's HTML needs MailerLite's custom HTML editor, and your account doesn't have it. Copy the timer's HTML from Embed and paste it into the email in MailerLite instead.
- My automation isn't in Send to ESP
- Send to ESP lists the emails of paused automations that already have content. Pause the automation in MailerLite and design its email first. Campaigns aren't listed: paste the timer into those yourself.
- Every subscriber sees the same countdown
- The timer isn't evergreen, or its address lost MailerLite's variable. Make it Evergreen in flashtimer and check that the image address ends in
vid={$email}, then send the timer to the email again. - The timer doesn't move in Outlook
- Classic Outlook for Windows (2007–2019, and newer versions with Windows animations turned off) shows only the first frame of a GIF. flashtimer makes that frame the correct time left at the moment of opening; it just doesn't tick. Restate the deadline in text, like "ends Sunday at midnight".
Still stuck? Contact support.
Questions
Answered before you ask.
Keep reading
- MailerLite integrationMailerLite countdown timer for every campaign and automationGo beyond MailerLite's Countdown block: evergreen timers per subscriber, recurring deadlines, fallback images and labels in seven languages. Start free today.
- Evergreen timersEvergreen countdown timer for email: a personal deadline for every readerGive every reader their own deadline with an evergreen countdown timer email: starts on open or on send, built for flows. Set up in minutes. Start free.
- Welcome offersWelcome email discount countdown timer: a real deadline for every new subscriberAdd a welcome email discount countdown timer that gives each new subscriber their own 48–72 hour window, starting on first open. Set it up free today.